Building Your Base: Oak Leaves and Structure
Start with the foundation. We show you how to select fresh oak leaves, prep them properly, and create a sturdy base that holds everything together.
July 2026
Why Your Base Matters
A strong foundation makes everything else easier. If your base isn't solid, the wildflowers won't hold their shape, the wreath won't last through the season, and you'll be frustrated with the results. The good news? Building a proper oak leaf base isn't complicated — it just takes the right technique and materials.
Most people rush this step. They grab whatever oak leaves look decent and move on to the "fun" part. But we've found that spending 20-30 minutes on your base saves you hours of frustration later. You'll notice the difference immediately once you start adding flowers.
What You'll Learn
- How to select the best oak leaves for durability
- Proper preparation and drying techniques
- Three methods for building your base structure
- How to test if your base is strong enough
Selecting Your Oak Leaves
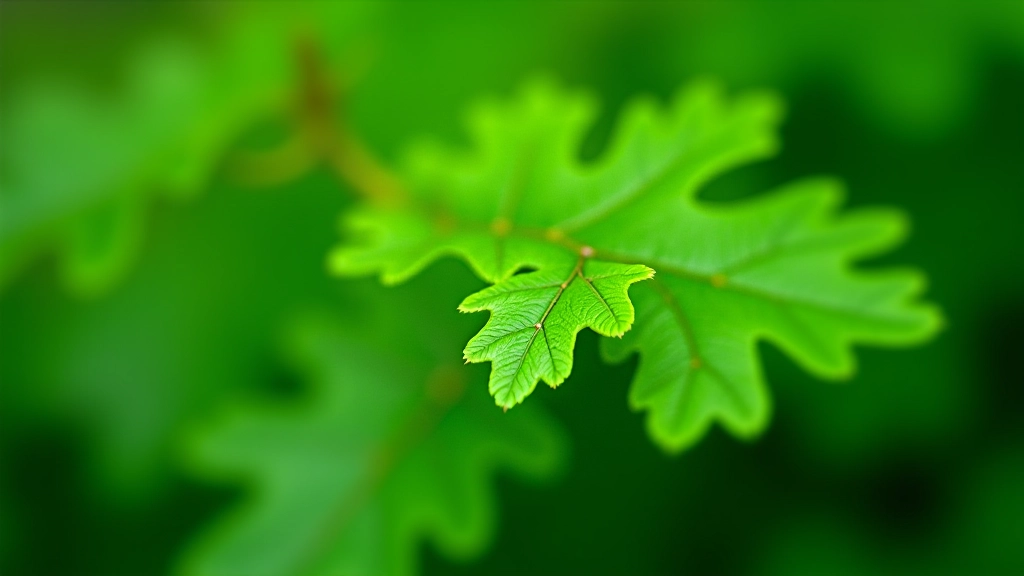
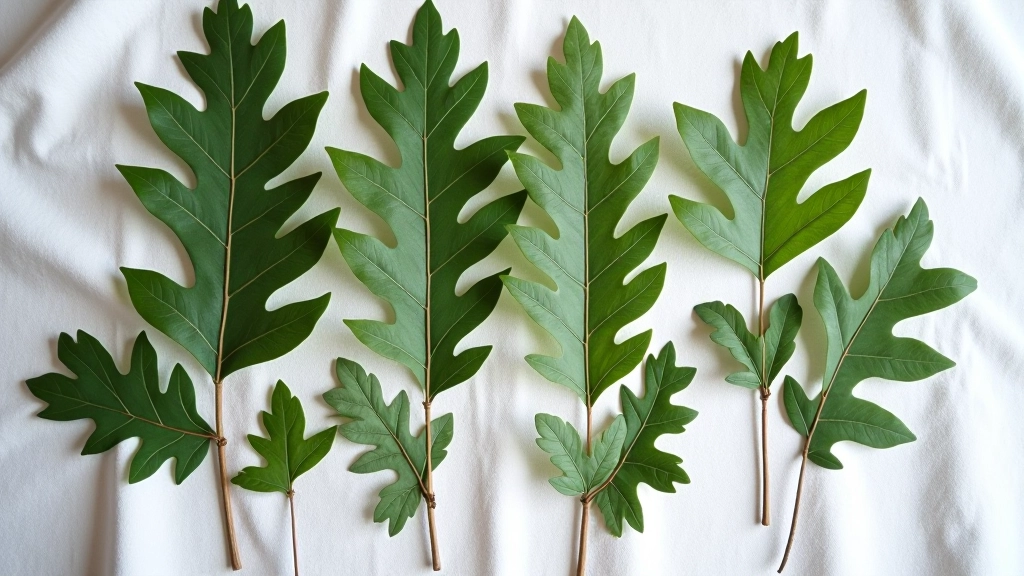
Not all oak leaves are created equal. You want leaves that are mature but still pliable — leaves that'll bend without snapping. Pick them in mid to late July, when they've finished their main growth but haven't started turning papery yet. Fresh leaves are easier to work with than dried ones, though both work.
Look for leaves that are 3-5 inches long with intact edges. Torn or spotted leaves can work, but the imperfections become more obvious once you start arranging. You'll need roughly 40-50 leaves per wreath base, depending on how thick you want it. Go bigger rather than smaller — it's easier to trim excess leaves than to add more later.
The stems matter too. Keep a good 2-3 inches of stem attached to each leaf. This gives you something to grip when you're building and binding. If you're picking leaves from multiple trees, mix them up — variety in leaf shape actually creates a more interesting visual texture.
Prep Work: Clean and Dry
Here's what people skip and regret: proper preparation. Once you've picked your leaves, rinse them gently under cool water to remove dust and insects. Pat them dry with a soft cloth — don't wring them or you'll damage the delicate surface. Let them air dry for 30-45 minutes on a clean cloth in a cool room.
You don't want leaves that are bone dry and brittle. Slightly supple leaves work better for building. If your leaves are already a bit papery, mist them lightly with water and let them rest for an hour. They'll become more flexible and less prone to cracking when you bend them into your base.
Check for any damaged sections and trim those away with sharp scissors. A clean, neat leaf looks professional. It's tedious, but it makes a difference in the final appearance. Set your prepared leaves aside in a cool place — they'll stay fresh for a day or two if you keep them loosely covered.
Building Your Base: Three Approaches
There's no single "right" way to build a base. The method you choose depends on your materials and how thick you want the wreath. We'll walk you through three solid techniques that all work well.
Method 1: The Spiral Wrap (Most Stable)
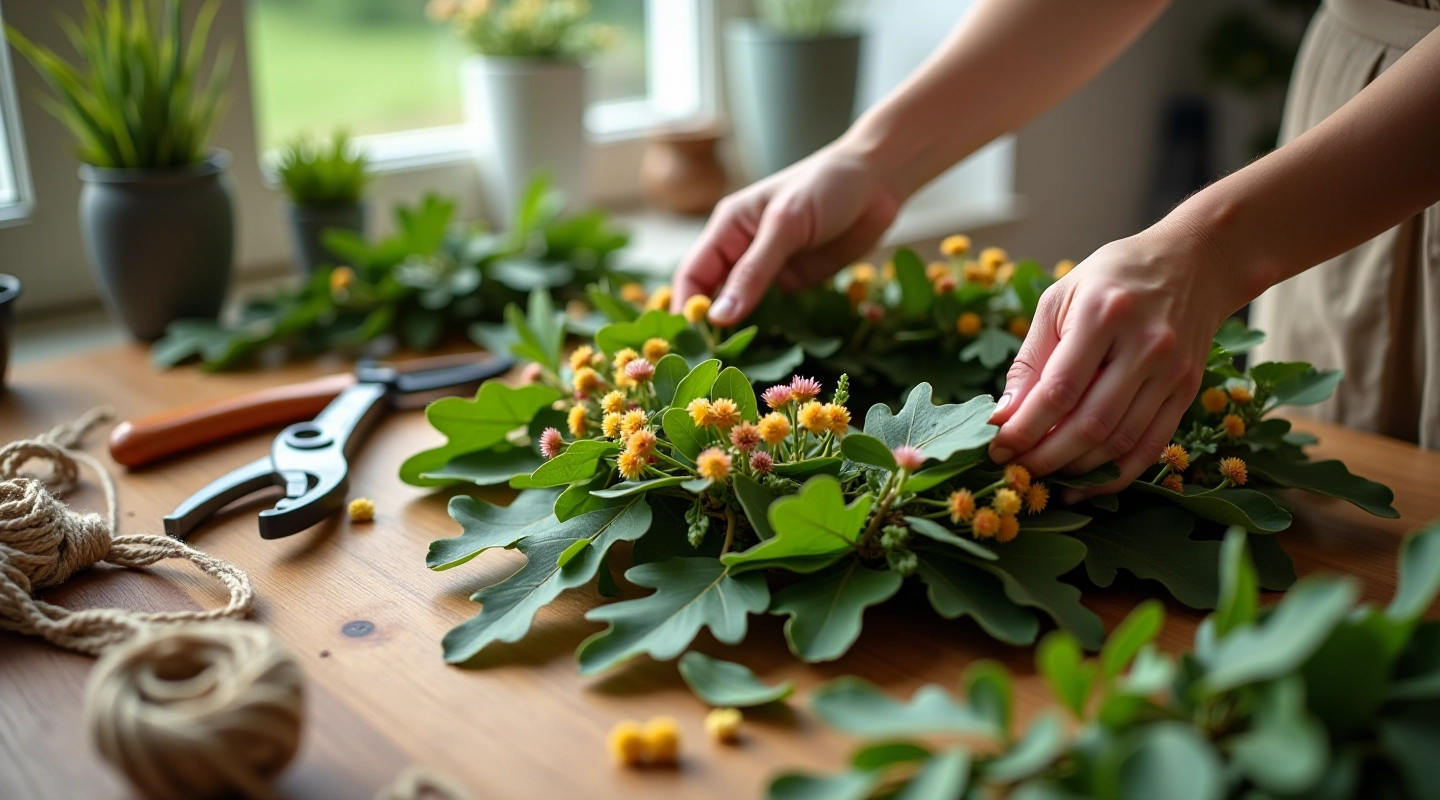
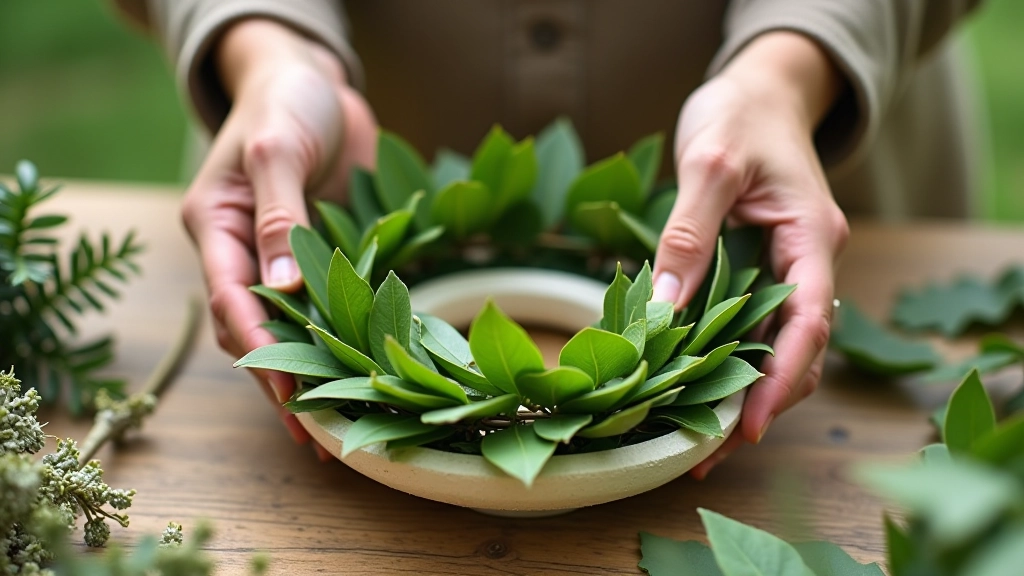
Start with a foam or straw ring as your base form — 10-12 inches in diameter works well. Layer your oak leaves around the ring, overlapping each new leaf about halfway over the previous one. This creates a shingled effect. Secure each layer with floral wire as you go, wrapping the wire around the ring and through the leaf stems. By the time you've gone around three times, you'll have a thick, sturdy base that can hold just about anything. This method takes the longest but produces the most durable result.
Method 2: The Bundle Approach (Quickest)
Group your leaves into bundles of 5-6, stems together. Bind each bundle tightly with twine or floral tape. Then arrange these bundles around a ring form, overlapping them and securing with wire. You'll use fewer individual leaves but create a fuller effect faster. It's perfect if you're on a time crunch or want a more casual, organic look.
Method 3: The Twisted Base (Most Flexible)
Twist 8-10 oak branches or thick stems together to form a ring, securing the ends with wire. Then layer leaves over this twisted base, tucking stems into the twisted structure. This method gives you the most flexibility in size and shape, and it looks rustic and authentic. No foam ring needed — just natural materials.
How to Test Your Base
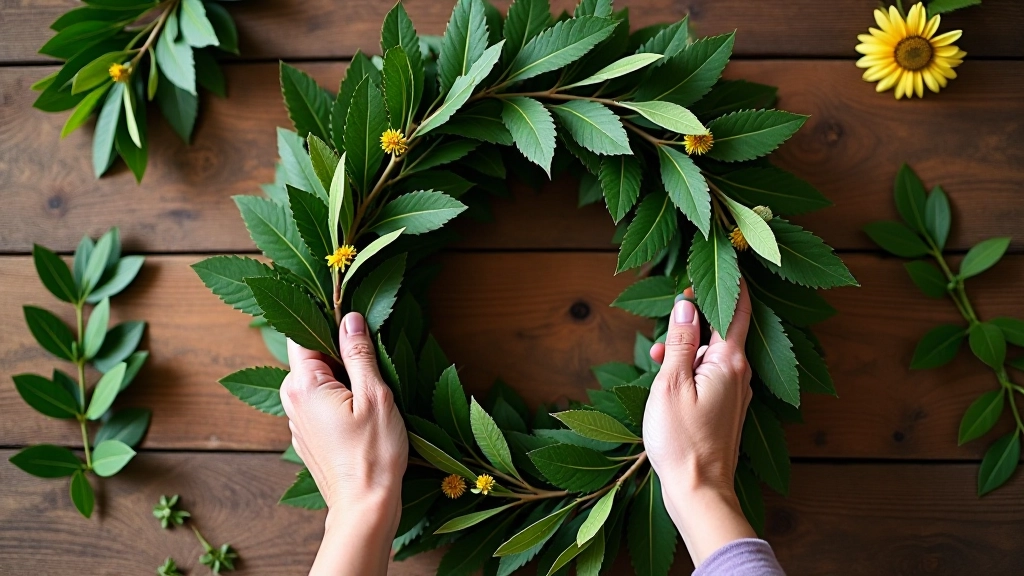
Before you move on to adding flowers, give your base a gentle test. Hold it in your hands and squeeze gently — it should feel firm but not rigid. If it collapses or feels hollow, you need more leaves or tighter binding. If you can barely flex it, that's perfect.
Try this: hold your wreath at one point and let it hang. A good base will hold its shape without sagging noticeably. If it droops more than an inch, reinforce it with an extra layer of leaves or additional wire. It's much easier to strengthen now than to fix problems once you've added the wildflowers.
Check all the binding points. Look for any spots where leaves are loose or stems are pulling away from the ring. Tighten those connections now. You're aiming for a base that'll last through July and August without falling apart. A well-made oak leaf base can easily support 20-30 wildflower stems without any issues.
Pro Tips for Base Success
Keep Leaves Fresh
Don't prep all your leaves days in advance. Fresh is better. If you're building your wreath in the morning, pick leaves the evening before and store them in a cool spot. Mist them with water if they start looking dry.
Wire Over Twine
Floral wire holds better than twine for binding leaves to the base form. It's more secure and doesn't slip. You can hide it easily once you add the flowers. Twine works fine for bundling leaves together, but wire is better for attaching to the main structure.
Overlap Generously
Don't skimp on overlap. Each new leaf should cover at least half of the previous one. This creates a shingled, layered look that's both beautiful and sturdy. Sparse bases look thin and fragile — generous overlap looks lush.
Size Your Base Right
A 10-12 inch base works for most wreaths. It's large enough to showcase wildflowers but not so large that it becomes unwieldy. If you want a bigger wreath, it's better to use a larger base form than to try to scale up with more leaves.
Educational Note: This guide is intended for informational and educational purposes. Individual results vary based on your local climate, specific oak varieties available, and personal skill level. We recommend testing techniques on a small scale first. If you have questions about specific materials or methods, consult experienced wreath-makers or local craft instructors in your area.
You're Ready to Begin
You've now got everything you need to build a solid oak leaf base. The work here — selecting good leaves, prepping them properly, choosing your building method, and testing for strength — that's what makes the difference between a wreath that lasts all summer and one that falls apart in a week.
Don't rush this step. Seriously. A good base is like a good foundation for a house. You won't see it once everything else is in place, but it's what holds everything together. Spend the time now, and the rest of the wreath-making process becomes genuinely enjoyable.
Once your base is ready, you're set for the next step: selecting and arranging wildflowers. That's where the real creativity happens. But none of it works without a solid foundation.

Author
Jāņi Wreath Editorial Team
Editorial Team
Written by the Jāņi Wreath Editorial Team, focused on authentic Midsummer craft techniques and seasonal wildflower guidance.