
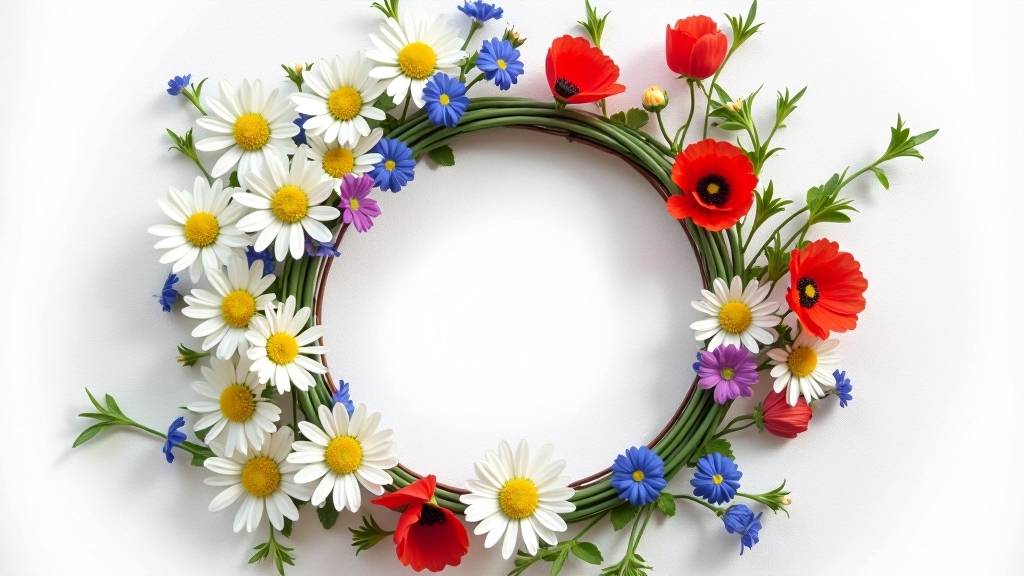
Wildflower Selection and Arrangement Techniques
Which wildflowers work best? How do you arrange them for balance and color? We break down the design principles that make wreaths actually look good.
Understanding Wildflower Composition
Once you've got your oak leaf base ready, the real magic happens when you add wildflowers. But here's the thing — not every wildflower works in every wreath. Color harmony matters. Scale matters. The way flowers dry and hold their shape matters too.
We're not talking about fancy floral design degrees. You just need to understand a few core principles. Pick the right species, arrange them with intention, and you'll end up with something that looks professionally done — even if it's your first wreath.
This guide covers the flowers we recommend, how to combine them for visual impact, and the actual techniques that separate a nice wreath from a truly striking one.
Key Principles
- Color balance across warm and cool tones
- Varied heights create visual interest
- Odd numbers of blooms feel more natural
- Focal flowers anchor the design
- Filler flowers bridge the gaps
Selecting the Right Wildflowers
Not all wildflowers dry well. Some lose their color entirely. Others shatter when touched. You want species that hold their form and color through the drying process. That's where we start.
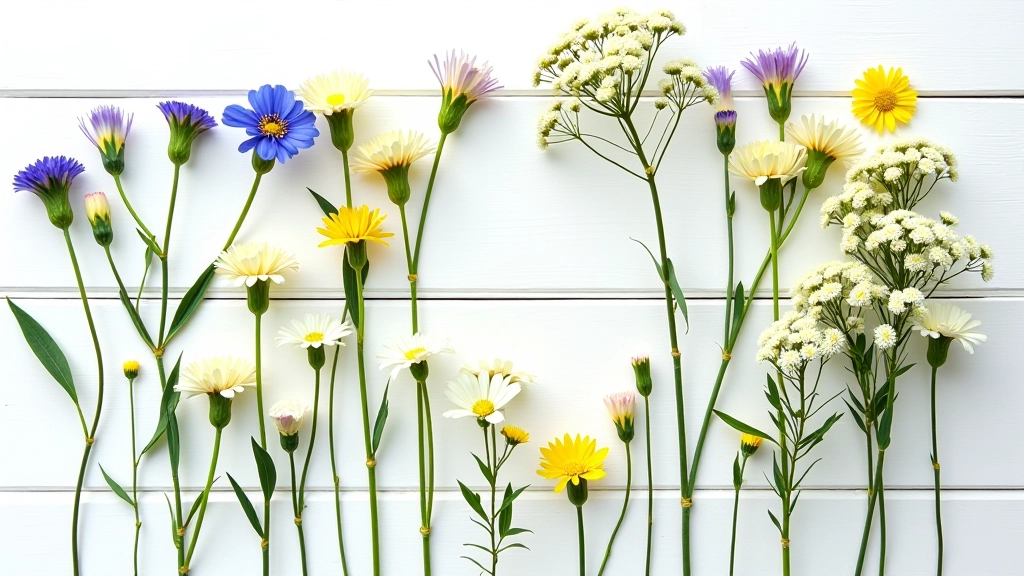
Cornflowers (Centaurea cyanus) are our go-to. They're sturdy, they dry to a deep blue that doesn't fade much, and they maintain their shape. Yarrow (Achillea) works beautifully too — flat flower clusters that add texture without bulk. Daisies (Leucanthemum) are reliable, though they shrink slightly as they dry, so pick ones that start oversized.
Don't overlook the secondary flowers. Statice (Limonium) and baby's breath (Gypsophila) aren't exciting on their own, but they're the bridge between your focal blooms. They fill spaces, create movement, and make expensive focal flowers stretch further.
Color Balance and Harmony
Color harmony is where most DIY wreaths go wrong. You pick flowers you like individually, then put them together and something feels off. Usually it's because you've got too much of one color family, or the warm and cool tones aren't balanced.
Think about it like this: if your wreath is 60% blue, you need 40% of other colors to make that blue sing. We typically recommend a split between warm tones (yellows, oranges, reds) and cool tones (blues, purples). Not equal — maybe 55% cool, 45% warm, depending on the mood you're going for.
The oak leaves you started with? They're your neutral. They ground the color palette. Don't overwhelm them. Use flowers as accents and highlights, not the entire composition.
Arrangement Techniques That Work
You've got your flowers selected. Now comes the actual building. Most people make one mistake: they arrange flowers in a flat plane. Your wreath is circular, so flowers should radiate outward at different angles. That's what creates dimension.
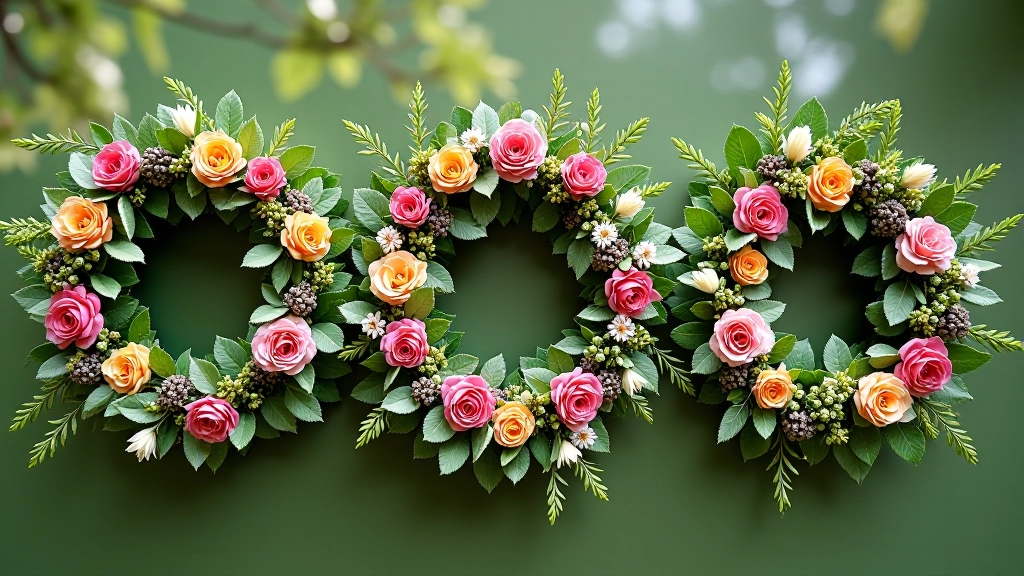
Start with your focal flowers — your statement blooms. These go in clusters of three or five (odd numbers always look more intentional). Space them roughly evenly around the wreath, but not symmetrically. Symmetry feels stiff. A triangle of focal flowers works better than a perfect square.
Fill the gaps with secondary flowers. This is where yarrow and statice earn their place. Work in small bunches. Don't fill everything completely. Some negative space — where you can see the oak leaf base — actually makes the whole thing look more sophisticated, not sparse.
Heights matter. You're not aiming for flat. Let some flowers sit higher, some lower. This is easier if you're gluing flowers on as you go rather than trying to insert pre-arranged bunches. Takes about 2-3 hours, but you get control.
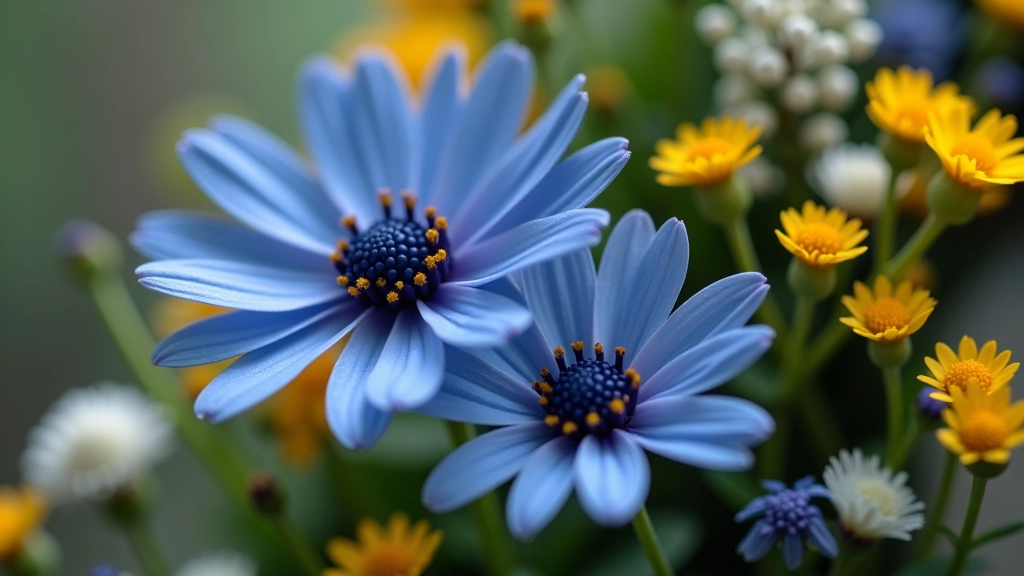
Focal vs. Filler Flowers
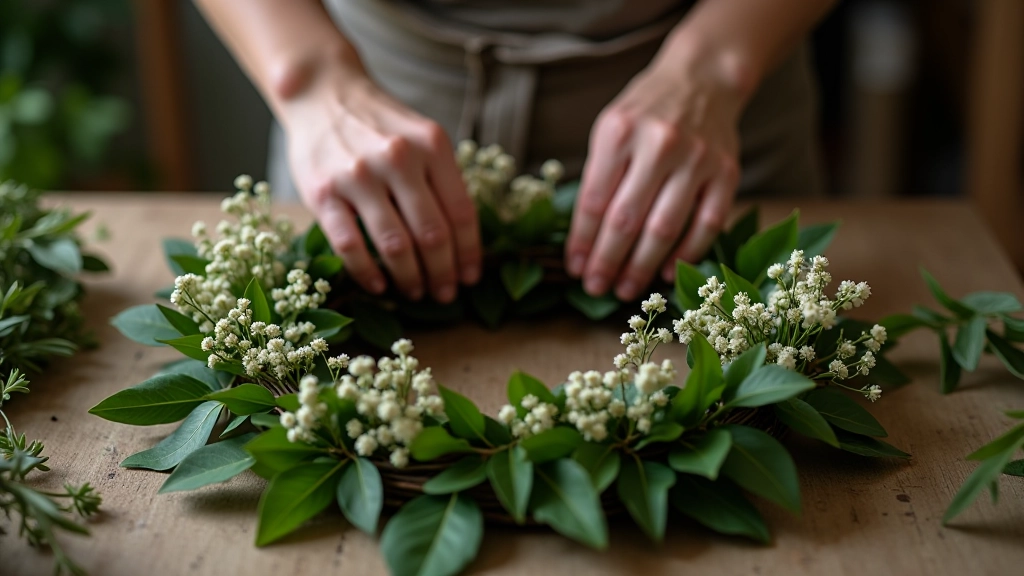
Understanding the difference between focal and filler flowers changes everything. Focal flowers are your statement pieces. They're large, distinctive, usually more expensive. Cornflowers, roses, peonies if you can get them. You want 8-12 focal flowers on a medium wreath.
Filler flowers are the supporting cast. Statice, baby's breath, limonium. They're smaller, more delicate, cheaper to buy in bulk. You'll use 3-4 times as many fillers as focal flowers. That's the proportion that feels balanced.
The trick is spacing. Don't cluster all your focal flowers together. Space them with filler in between. A cluster of statice between two cornflowers creates a visual pause. Your eye moves around the wreath instead of getting stuck in one area.
And here's what nobody tells you: dried flowers look better at a slight angle. Not straight on. Angle them so you're seeing them at 45 degrees. It's more flattering to the bloom and more interesting to look at.
About This Guide
This guide shares practical techniques based on traditional midsummer wreath-making methods and our editorial experience with seasonal craft projects. Individual results vary based on local wildflower species, climate conditions, and personal preferences. Always verify which wildflowers grow naturally in your region and which are protected species in your area. Drying times and color retention depend on humidity, temperature, and storage conditions during the drying process.
Building a Wreath That Lasts
The techniques we've covered — selecting hardy species, balancing color, spacing focal and filler flowers, creating dimension through angles — they're not complicated. But they do separate a wreath that looks handmade from one that looks professionally designed.
Start with a wreath you're happy to display for the season. Once you've made one, you'll see where you'd do things differently on the next one. That's how you improve. The oak leaf base you built in the first guide is your foundation. These wildflower techniques are what make people stop and ask where you got it.
Jāņi Wreath Editorial Team
Editorial Team
Written by the Jāņi Wreath Editorial Team, focused on authentic Midsummer craft techniques and seasonal wildflower guidance.
Continue Your Wreath Journey
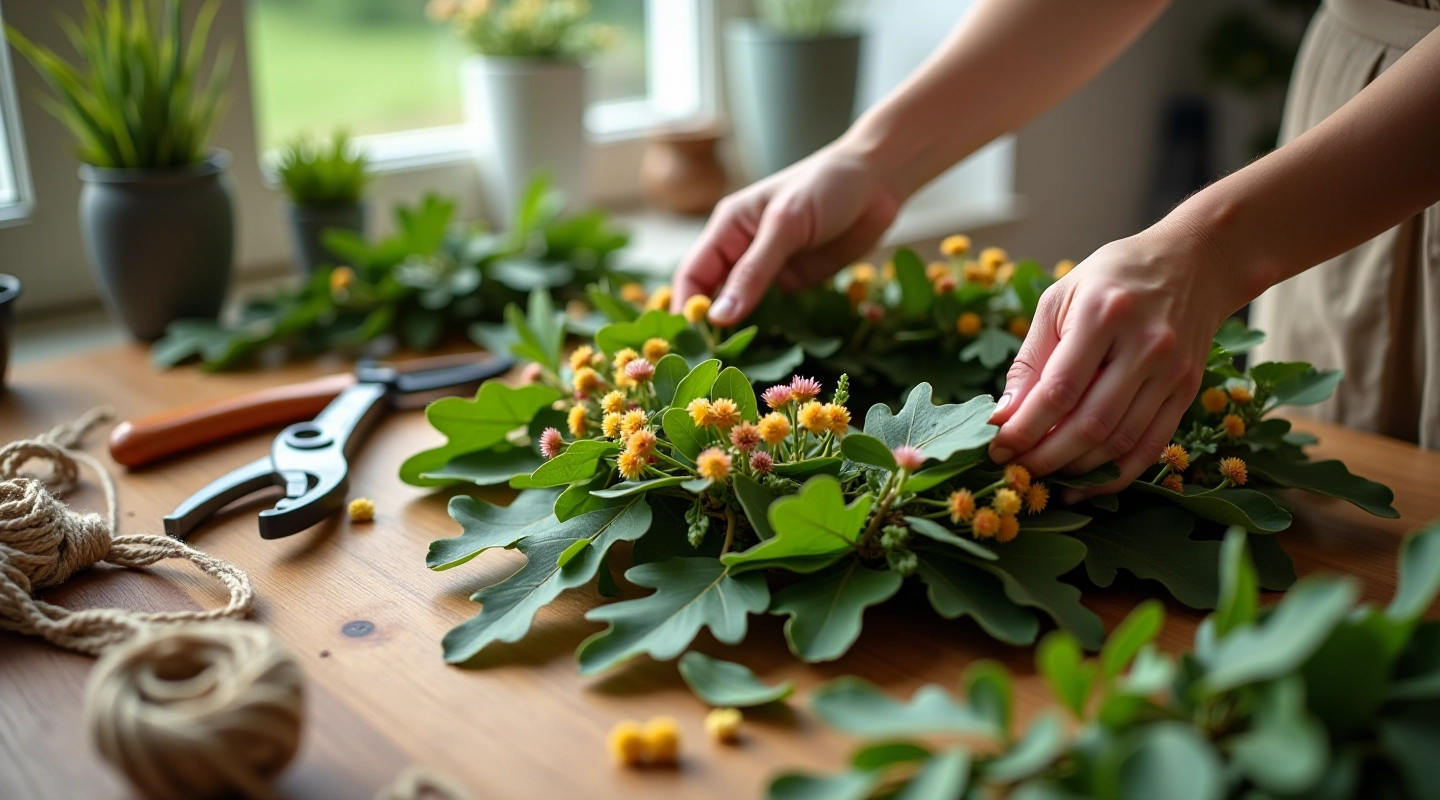
Building Your Base: Oak Leaves and Structure
Start with the foundation. We show you how to select fresh oak leaves, prep them properly, and create a base that'll hold your wildflowers securely.
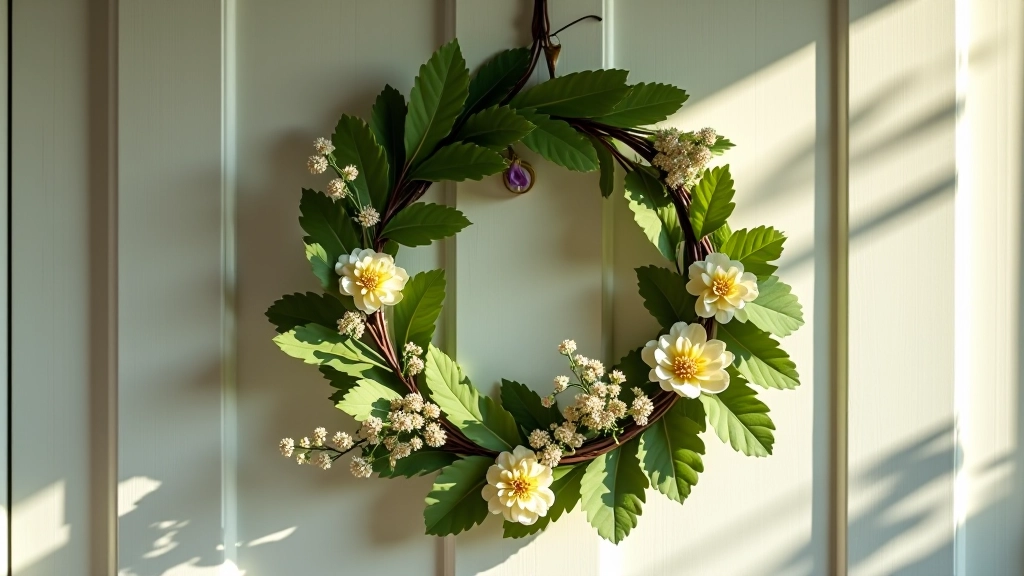
Securing and Finishing Your Wreath
The final steps matter. Learn the best materials for binding, how to add your personal touches, and techniques that keep everything in place.
Care and Display: Making Your Wreath Last
You've invested time in creating something beautiful. Here's how to keep it fresh through the season and display it where it'll have the most impact.