
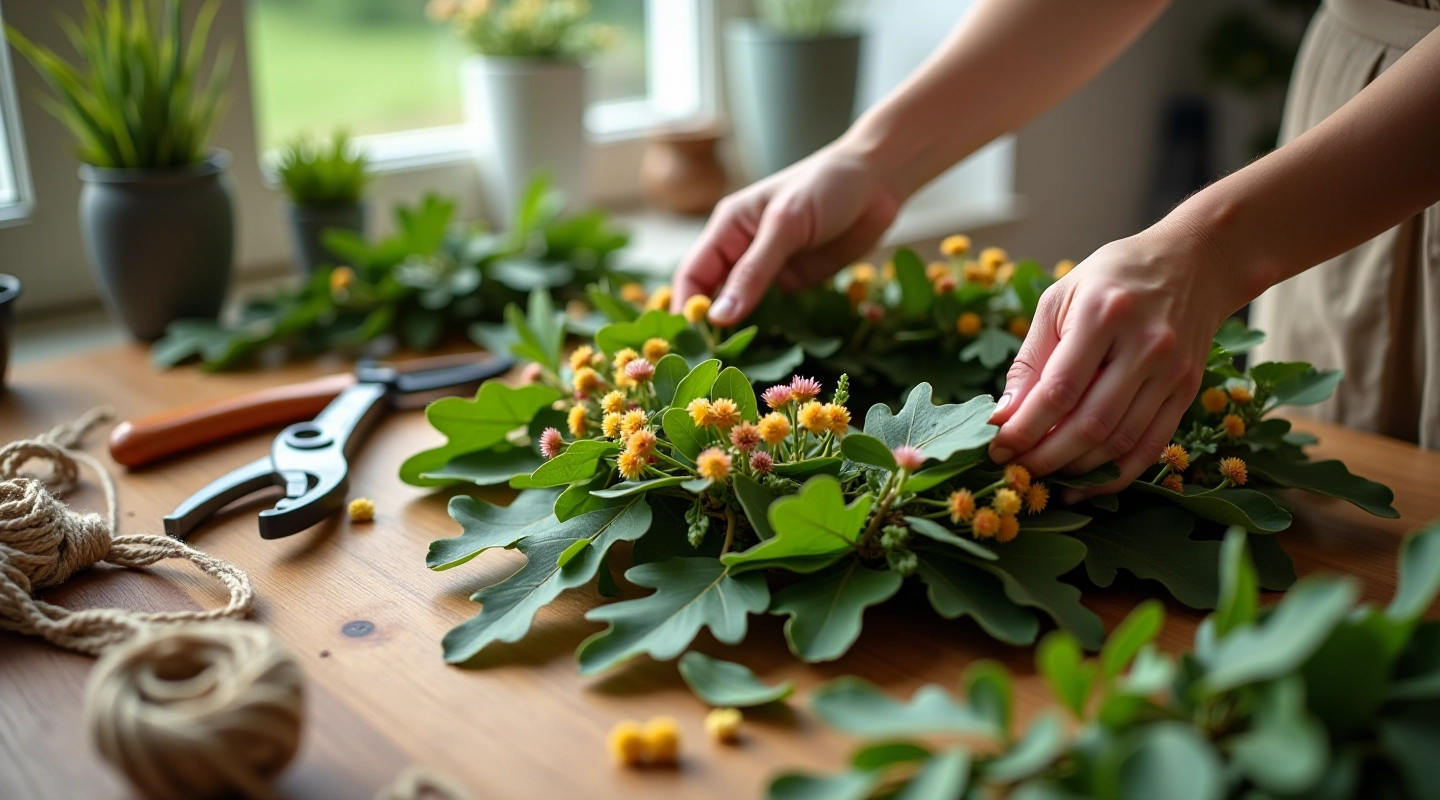
Building Your Base: Oak Leaves and Structure
Start with the foundation. We show you how to select fresh oak leaves, prep them properly, and build a base that holds everything together.
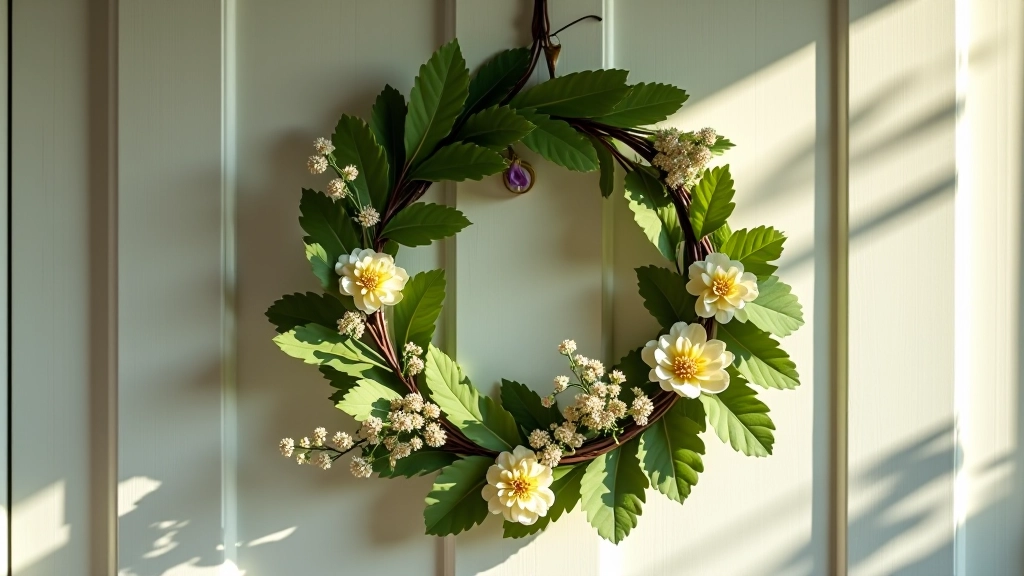
The final steps matter most. You've arranged your oak leaves and wildflowers with care — now comes the part that keeps everything together. We'll walk you through binding techniques, securing methods, and those finishing touches that make your wreath truly special. It's simpler than you might think.
This guide provides educational information about wreath construction techniques. Results depend on the quality of your materials, local growing conditions, and how carefully you follow each step. We recommend testing binding materials on spare plant material before working on your finished wreath.
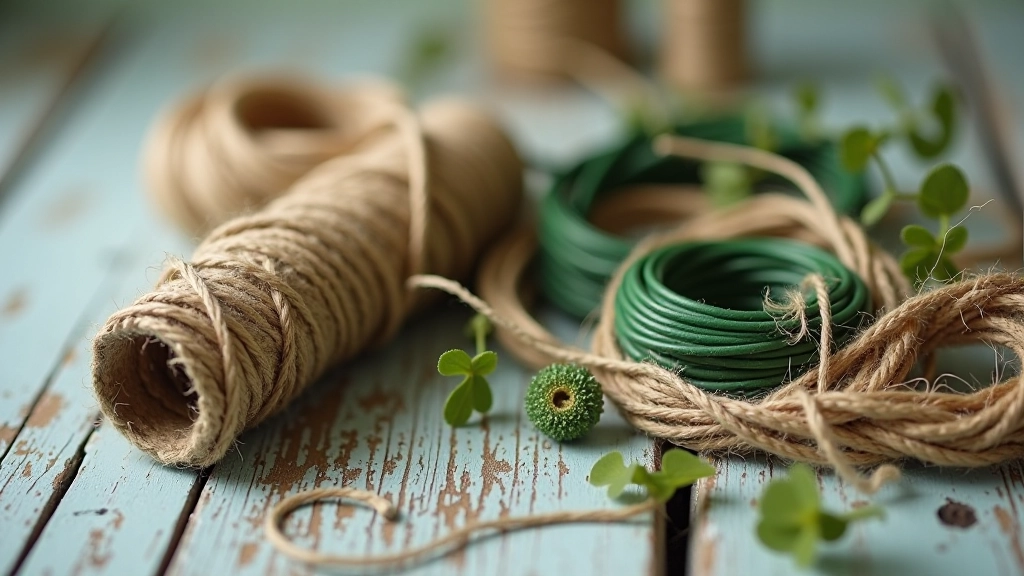
The right binding material makes the difference between a wreath that holds together and one that falls apart. You've got several options, and each works best in different situations.
Natural twine works beautifully if you're keeping the wreath displayed indoors. It blends seamlessly with oak leaves and flowers. Just be aware — it loosens over time as the plant material shrinks. Jute twine gives you a rustic look and stays flexible enough not to snap stems. Cotton thread is finer, better for delicate wildflowers where you don't want visible binding.
Florist's wire is the practical choice. It holds tight, won't rot if your wreath's in a humid spot, and you can adjust tension as the stems dry. Green wire disappears against the foliage. Use 18 or 20 gauge — thin enough to work with, thick enough to actually hold things secure. Avoid anything thinner than 22 gauge. It'll snap when you twist it.
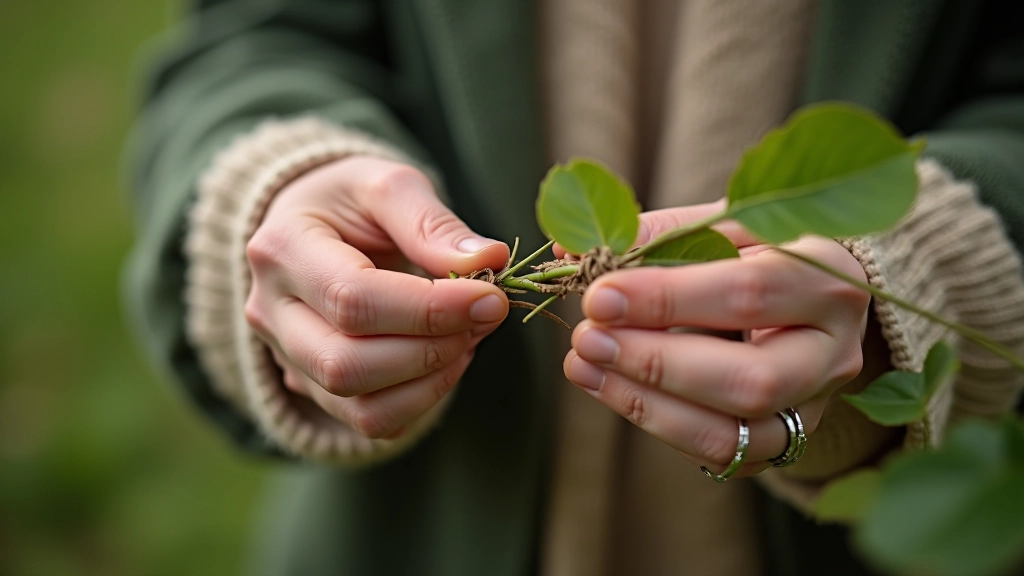
Here's the technique that actually works. Don't just wrap your binding material randomly around the wreath. You'll end up with loose spots and weak points.
Start by identifying two opposite points on your wreath base — imagine a clock face, one point at 12 and one at 6. Secure your binding material at the 12 o'clock position, wrapping it around the base structure two or three times. Tie it off firmly but not so tight you crush the stems. Now move to 6 o'clock and repeat. This creates two anchor points that prevent rotation.
Once your main structure is locked in place, add secondary bindings at 3 and 9 o'clock positions. These secondary wraps don't need to be as tight — they're mainly preventing the sides from shifting. Each wrap should take about 5 to 10 seconds. If you're spending more time than that on a single wrap, you're overthinking it.
A wreath becomes truly yours in these final moments. You've got your structure secure. Now think about what makes it special.
Consider a decorative bow or ribbon. Silk ribbons hold up better outdoors than fabric ones. Position it at the top where it catches light, or at the side for a more casual look. Skip the bow entirely if you prefer clean lines — there's nothing wrong with letting the flowers and leaves speak for themselves.
Some people add small accent elements — dried berries, seed pods, or interesting branches they've collected. Just make sure whatever you add weighs less than a few ounces. Anything heavier will throw off the balance and stress your binding. A few sprigs of additional greenery tucked into gaps creates fullness. Small clusters of baby's breath or similar filler flowers soften harsh lines. These touches take 10 to 15 minutes but transform the whole look.
Hide your binding materials. Tuck any visible wire or twine under leaves or flowers. If you've used green wire, it'll disappear pretty naturally, but twine shows. That's fine if it matches your aesthetic — some people love that rustic look. Others prefer it completely hidden.
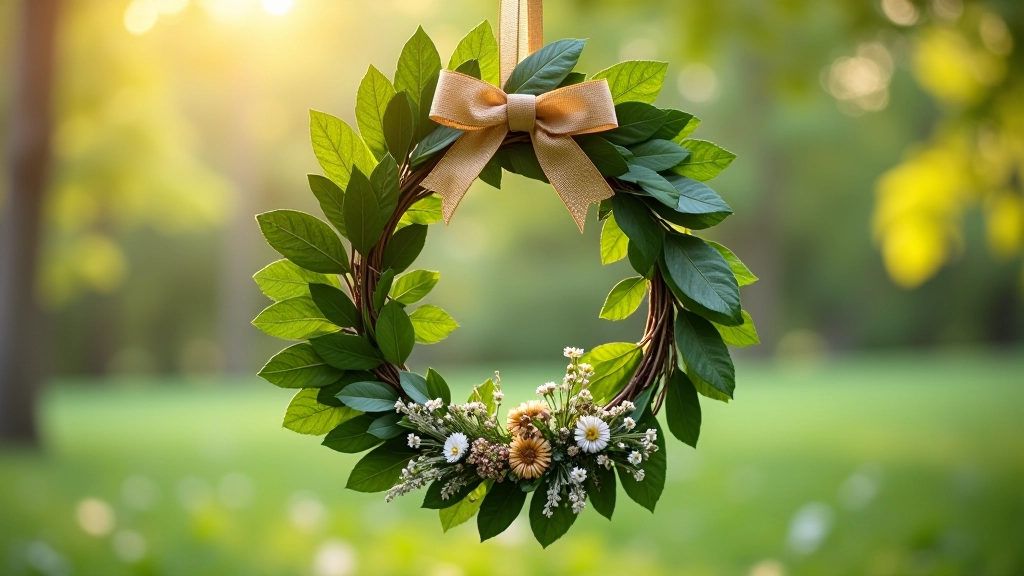
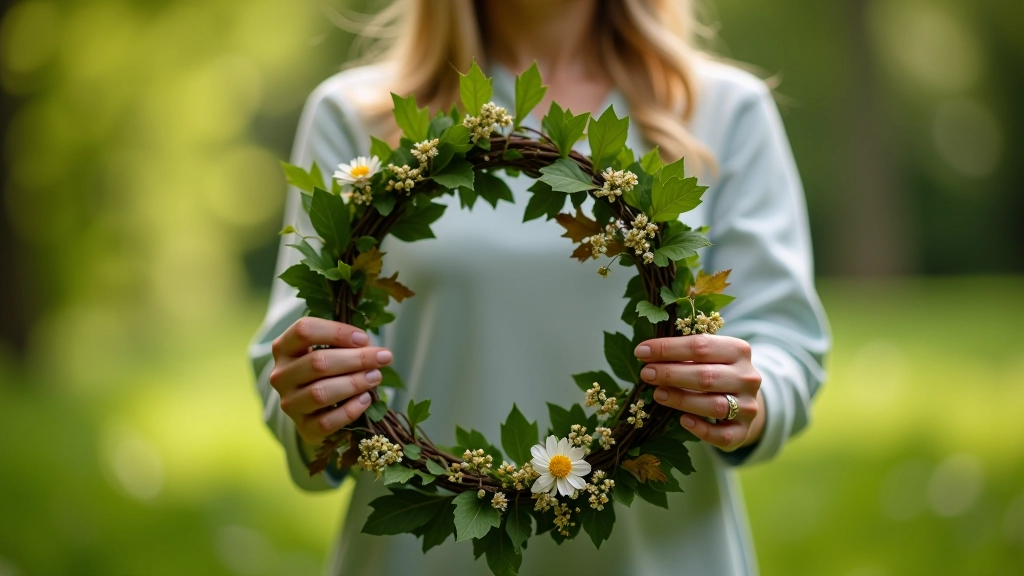
Before you hang your wreath anywhere, do a strength test. It takes two minutes and saves frustration later.
Hold the wreath at the top and gently tilt it side to side — about 30 degrees each direction. Nothing should shift. Rotate it slowly, checking that the whole thing moves as one unit. Gently press on different sections. The wreath should feel solid, not wobbly. If you notice any movement in one spot, that's a binding point that needs more attention. Go back and reinforce it now rather than hoping it holds up later.
Once it passes the tilt test, you're ready. The wreath you've created is now structurally sound and ready to face whatever weather comes its way.
Securing and finishing your wreath isn't complicated — it's about understanding what holds things together and taking time to do it right. You've learned the binding materials that work, the two-point securing method that actually keeps things stable, and how to add those final touches that make the wreath uniquely yours. You've tested it. You know it's solid. That's something to be proud of.
Your midsummer wreath is complete. It's time to hang it and enjoy what you've created.

Editorial Team
Written by the Jāņi Wreath Editorial Team, focused on authentic Midsummer craft techniques and seasonal wildflower guidance.
Start with the foundation. We show you how to select fresh oak leaves, prep them properly, and build a base that holds everything together.

Which wildflowers work best? How do you arrange them for balance and color? We break down the principles behind beautiful flower placement.
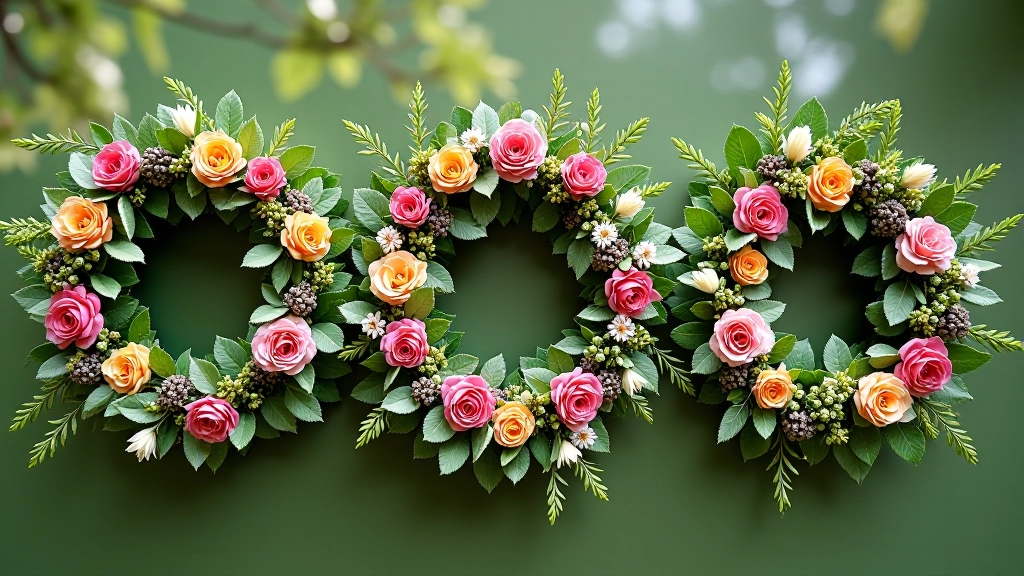
You've invested time in creating something beautiful. Here's how to keep it fresh, where to display it, and what to watch out for.